Lab-1-2
(2.5% of the course mark)
NPM and Express.js Lab
- In this lab, participants will delve into the world of web development with NPM (Node Package Manager), tool for managing dependencies and sharing code within the JavaScript ecosystem and Express.js, web application framework for Node.js. Through hands-on exercises, learners will explore how to rapidly build robust and scalable web applications using NPM and Express.js. Topics covered include setting up a basic Express.js application using NPM, defining routes, and handling HTTP requests and responses.
Lab objectives
-
Understand the role and benefits of NPM and Express.js in web development.
-
Set up a basic Express.js application.
-
Define routes to handle different HTTP requests and responses.
NPM Registry
-
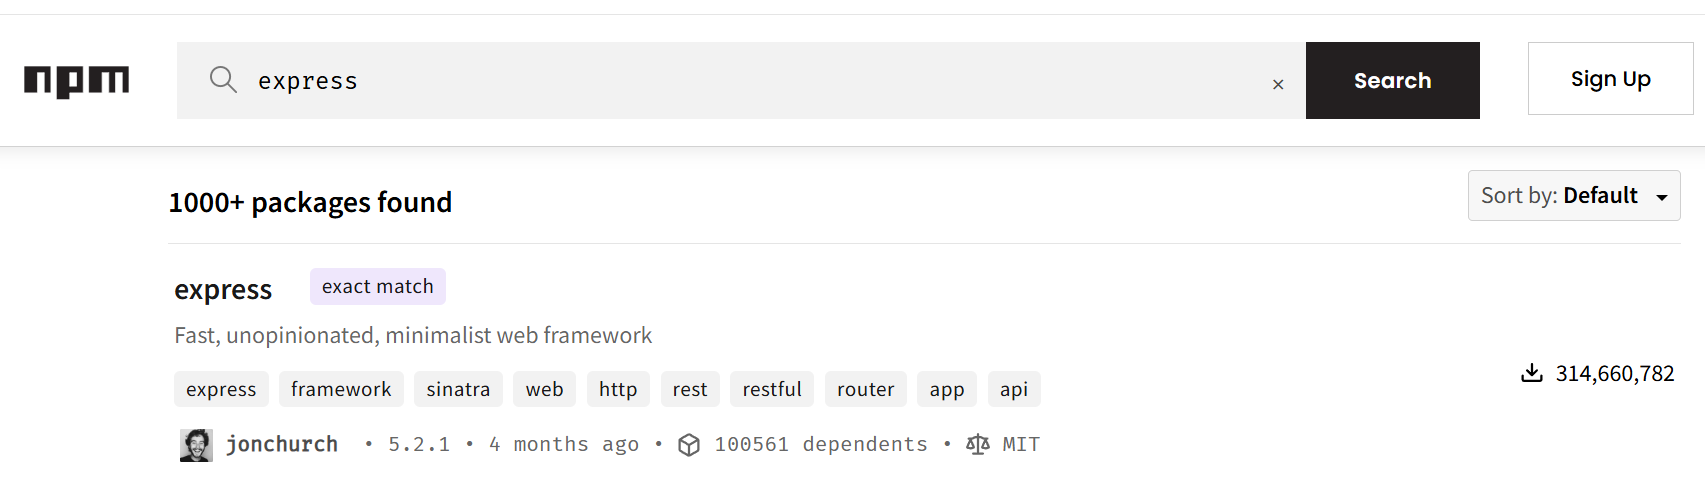
Open your browser and navigate to: https://www.npmjs.com.
-
In the package search bar enter express and click Search.
-
Click on the express link to see more information about the Express.js package.
-
In the Express.js NPM page, take a screenshot of the following:
How to install this package and name it install.png.
Where is the repository of this package and name it repository.png.
Where is the homepage of this package and name it homepage.png.
How much weekly downloads this package has and name it weekly-downloads.png.
What is the latest version of this package has and name it version.png.
When was this package last published and name it last-publish.png.
NPM (Node Package Manager) is the default package manager for Node.js and the world's largest software registry, containing millions of open-source JavaScript packages. It consists of a command-line interface (CLI) for installing, managing, and sharing dependencies, and an online registry.
Create an Express.js app
-
Open VSCode and create a folder named Express-App.
-
Open the terminal and change the directory to Express-App.
-
Initialize the app by running the following command:
npm init -y
- Install Express.js by running the following command:
npm install express
- Create a file named index.js and add the following code:
// Developer:
// Purpose:

const express = require("express");
const app = express();
const port = 3000;
const APP_NAME = "Express-App";

app.get("/", (req, res) => {
  res.send("Hello World");
});

app.listen(port, () => {
  console.log(`${APP_NAME} listening on port ${port}`);
});
-
Save the changes.
-
In the terminal, run the following command:
node index.js
-
Open your browser and navigate to: http://localhost:3000
-
Take a screenshot and save it as hello-world.png.
-
Press
ctrl-cto terminate the app.
Add JSON route
- Update index.js and a new route by adding the following code:
app.get("/json", (req, res) => {
  const userObject = { firstName: "Elon", lastName: "Musk" };
  res.send(userObject);
});
-
Save the changes.
-
In the terminal, run the following command:
node index.js
-
Open your browser and navigate to: http://localhost:3000/json
-
Take a screenshot and save it as json.png.
-
Press
ctrl-cto terminate the app.
Add HTML route
- Update index.js and a new route by adding the following code:
app.get("/html", (req, res) => {
  const htmlObject = `
<!DOCTYPE html>
<html lang="en">
  <head>
    <meta charset="UTF-8" />
    <meta name="viewport" content="width=device-width, initial-scale=1.0" />
    <meta name="description" content="Simple HTML" />
    <title>Simple HTML</title>
  </head>
  <body>
    <h1>Simple HTML</h1>
  </body>
</html>`;

  res.send(htmlObject);
});
-
Save the changes.
-
In the terminal, run the following command:
node index.js
-
Open your browser and navigate to: http://localhost:3000/html
-
Take a screenshot and save it as html.png.
-
Press
ctrl-cto terminate the app.
Using sakura.css and normalize.css
-
Open VSCode and create a folder named app.
-
Download the files sakura.css and normalize.css and save them to the app folder. Make sure to rename them to sakura.css and normalize.css.
-
Copy hello-world.png, json.png, and html.png to the app folder.
-
In the app folder create a file named: lab-1-2.html and add the following HTML code:
<!--
Developer:
Purpose:
-->

<!DOCTYPE html>
<html>
  <head>
    <meta charset="utf-8" />
    <meta name="viewport" content="width=device-width, initial-scale=1" />
    <!-- Update title -->
    <title></title>
    <!-- Reset styles using normalize -->
    <link rel="stylesheet" href="./normalize.css" />
    <!-- Classless css  -->
    <link rel="stylesheet" href="./sakura.css" />
  </head>
  <body>
    <!-- Enter the HTML codes to display the captured screenshots -->
  </body>
</html>
- For each screenshot implement the HTML codes to display the title, short description, and screenshot image.
Submission
- Create a folder named submit.
Delete the node_modules folder on any app that you are submitting.
-
Copy the Express-App and app folders to the submit folder.
-
Create a zip file of the submit folder.
-
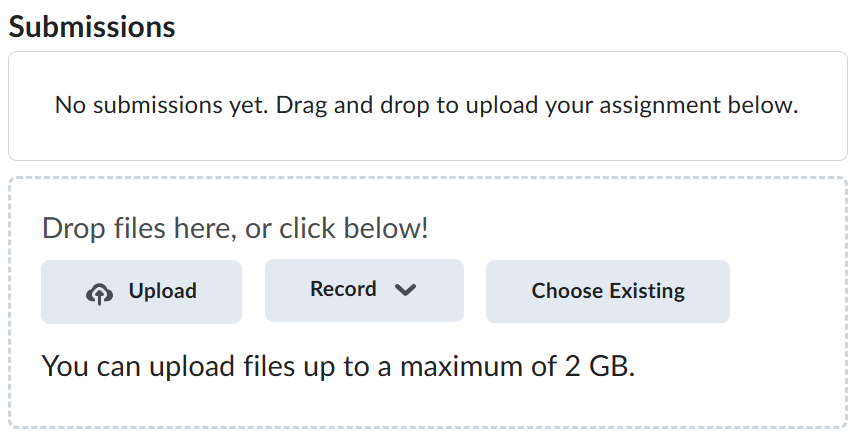
Navigate back to where the lab was originally downloaded, there should be a Submissions section (see below) where the zip file can be uploaded.