Lab-1-1
(2.5% of the course mark)
Node.js Lab
- The first Node.js lab introduces learners to the fundamentals of server-side JavaScript development. Through hands-on exercises, participants gain an understanding of setting up a basic Node.js environment.
Lab objectives
-
Understand the basics of server-side JavaScript development.
-
Set up a Node.js development environment on your local machine.
Create basic Node.js app
-
Open VSCode and create a folder named First-Node-Js-App.
-
Open the terminal and change the directory to First-Node-Js-App.
-
Initialize the app by running the following command:
npm init
- For now keep on pressing enter to accept the defaults.
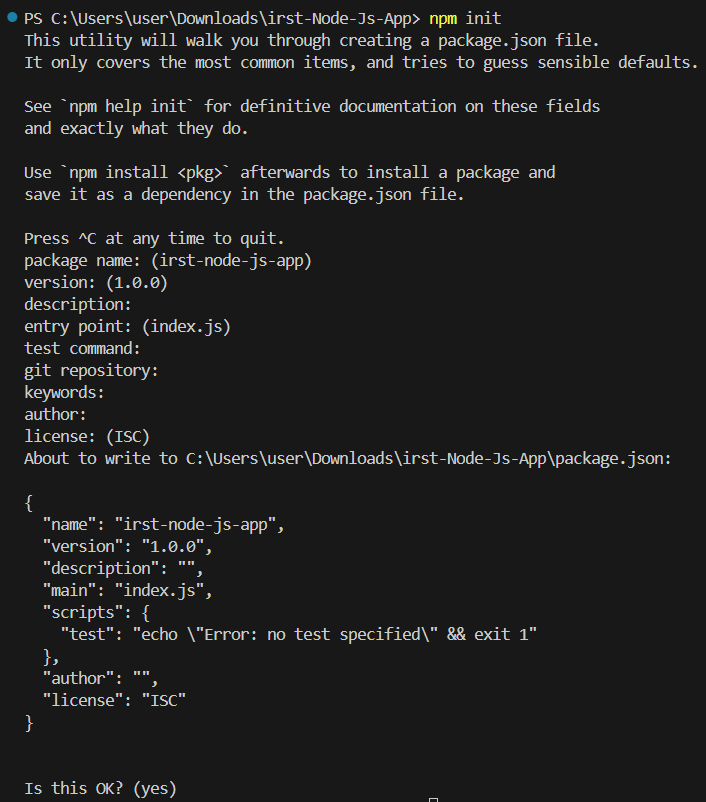
Use the following command to accept all defaults and skip the individual prompts.
npm init -y
- Create a file named index.js and add the following code:
console.log("Hello World");
-
Save the changes.
-
In the terminal, run the following command:
node index.js
- Take a screenshot of the terminal output and save it as node-js-hello-world.png.
Modify basic Node.js app
- Modify index.js and implement the following specifications:
Create a constant JS object variable named person that has the following properties:
firstName
lastName
An array of artists which has artistName and songName
Create a function named displayData with the following specifications:
This function will accept the constant variable person created on the previous step.
This function will display firstName and lastName from the constant variable.
This function will display the contents of the artists array using a loop.
-
Save the changes.
-
In the terminal, run the following command:
node index.js
- Take a screenshot of the terminal output and save it as node-js-hello-world-modified.png.
Using sakura.css and normalize.css
-
Open VSCode and create a folder named app.
-
Download the files sakura.css and normalize.css and save them to the app folder. Make sure to rename them to sakura.css and normalize.css.
-
Copy node-js-hello-world.png and node-js-hello-world-modified.png to the app folder.
-
In the app folder create a file named: lab-1-1.html and add the following HTML code:
<!--
Developer:
Purpose:
-->

<!DOCTYPE html>
<html>
  <head>
    <meta charset="utf-8" />
    <meta name="viewport" content="width=device-width, initial-scale=1" />
    <!-- Update title -->
    <title></title>
    <!-- Reset styles using normalize -->
    <link rel="stylesheet" href="./normalize.css" />
    <!-- Classless css  -->
    <link rel="stylesheet" href="./sakura.css" />
  </head>
  <body>
    <!-- Enter the HTML codes to display the captured screenshots -->
  </body>
</html>
- For each screenshot implement the HTML codes to display the title, short description, and screenshot image.
Submission
- Create a folder named submit.
Delete the node_modules folder on any app that you are submitting.
-
Copy the First-Node-Js-App and app folders to the submit folder.
-
Create a zip file of the submit folder.
-
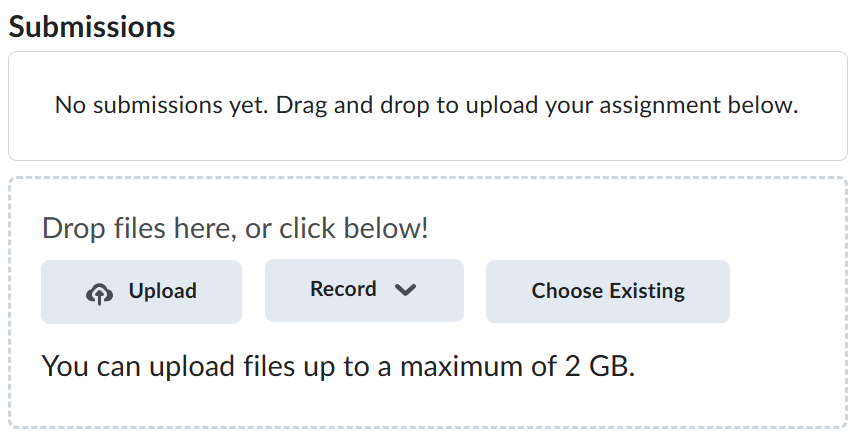
Navigate back to where the lab was originally downloaded, there should be a Submissions section (see below) where the zip file can be uploaded.